You don’t need an ARRI Alexa or a $5,000 lens to make something cinematic. In 2025, the gap between “pro” and “consumer” gear has vanished—if you know what to buy.
Most “cheap” footage doesn’t look bad because of the camera; it looks bad because of poor lighting and lack of control. Here are 5 pieces of budget filmmaking gear under $100 that will instantly upgrade your production value from “amateur” to “indie pro.”
1. The RGB Pocket Light (Aputure MC / Godox M1)
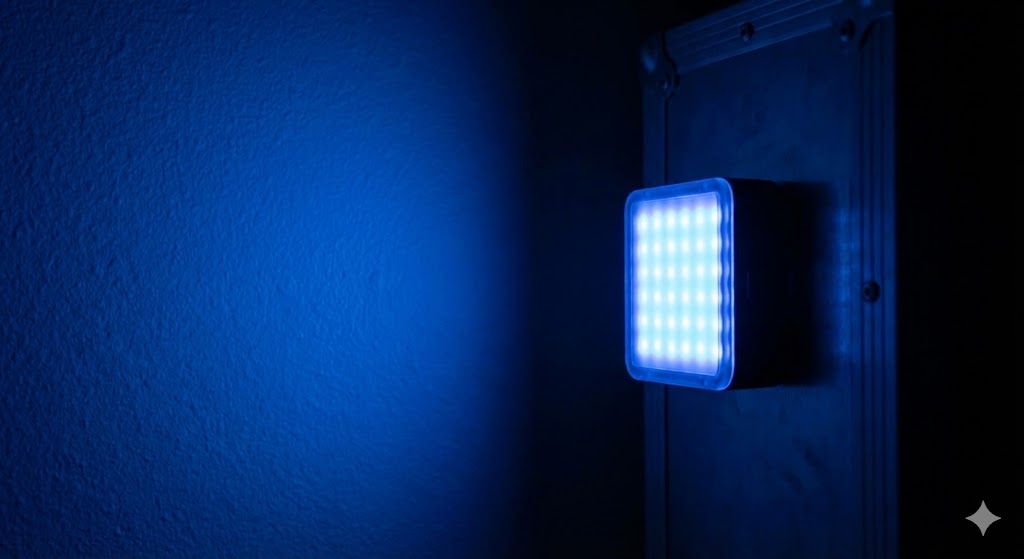
Credit: AI Generated Illustration by plotwit.
Approx. Price: $80 – $90
Stop buying cheap ring lights. The secret to the “YouTuber” or “Netflix” look is often a small, controllable splash of color in the background.
- Why it looks cinematic: These lights have full RGB (color) control and are magnetic. You can stick one to a fridge, hide it behind a bookshelf for a “practical” glow, or use it as a rim light to separate your actor from a dark background.
- Pro Tip: Use the “Fire” or “TV” effects built into these lights to simulate a dynamic environment without needing actual flames or a television on set.
2. A 5-in-1 Reflector

Approx. Price: $20 – $30
This is arguably more important than a new camera. If you are shooting outdoors, the sun is your enemy. It creates harsh, ugly shadows under your actor’s eyes (the “raccoon” look).
- Why it looks cinematic: The “diffusion” layer (the translucent white part) turns harsh noon sunlight into soft, beautiful window light. The “silver” side bounces light back into the shadows, giving your footage that glossy, commercial pop.
- Pro Tip: Use the “negative fill” (black side) to block light. This creates moodier shadows on one side of the face, adding instant drama.
3. Variable ND Filter

Approx. Price: $50 – $80 (e.g., K&F Concept, Tiffen)
Ever wonder why your outdoor footage looks jittery or “video-ish”? It’s likely because your shutter speed is too high. To get cinematic motion blur, your shutter speed needs to be double your frame rate (1/50th sec for 24fps). But on a bright day, that makes your image completely white/overexposed.
- Why it looks cinematic: An ND filter acts like sunglasses for your lens. It cuts the light entering the camera, allowing you to keep that wide-open aperture (blurred background) and slow shutter speed even in direct sunlight.
4. Friction Arm (Magic Arm) + Super Clamp
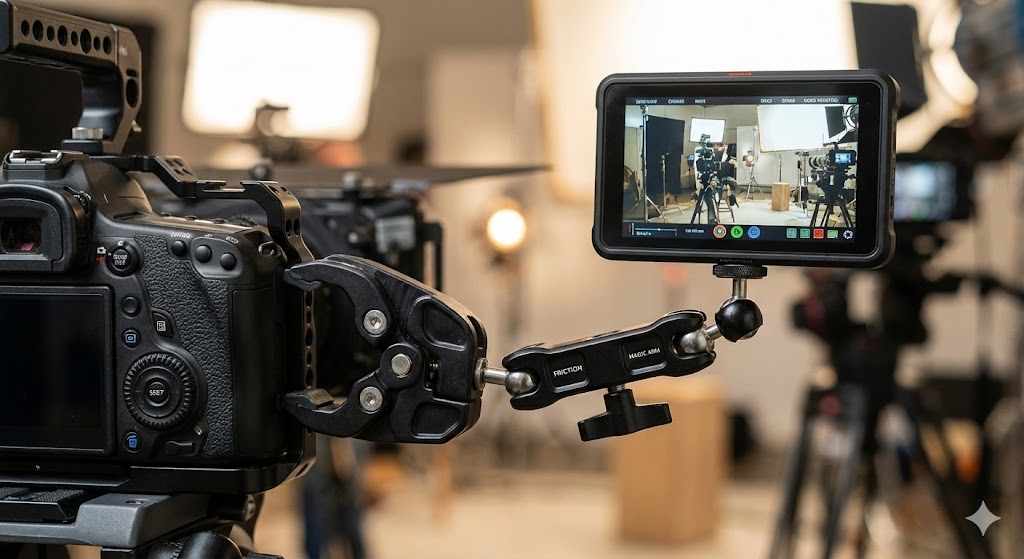
Approx. Price: $25 – $40
Rigging is what separates the pros from the hobbyists. You often need a light exactly where a light stand can’t fit.
- Why it looks cinematic: This combo lets you clamp a light to a doorframe, mount a monitor to your camera cage, or hold a prop in mid-air. It gives you the flexibility of a big crew setup without the extra hands.
5. A Professional Slate (Clapperboard)
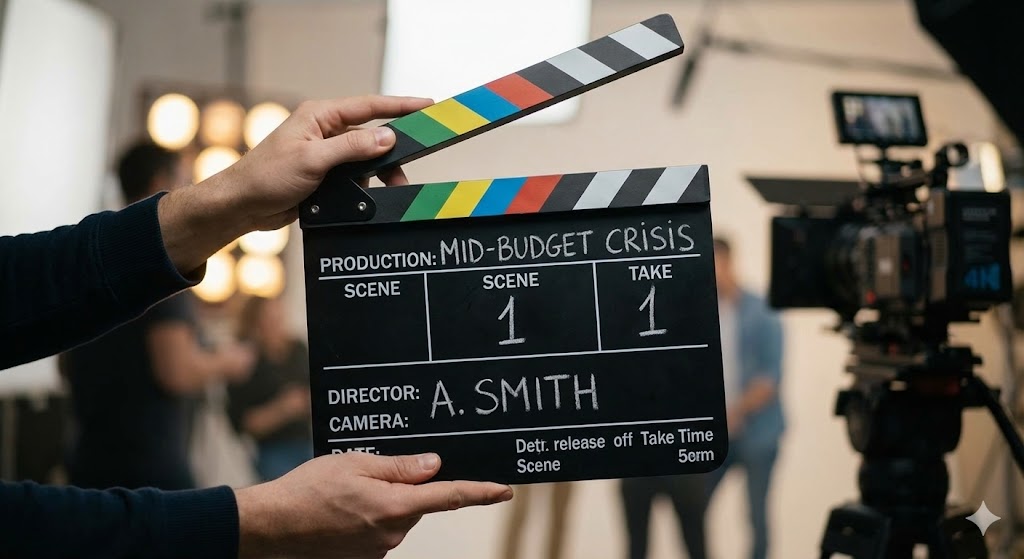
Approx. Price: $15 – $20
It’s not just a prop for Instagram photos. If you are recording audio separately (which you should be), syncing it manually is a nightmare.
- Why it looks cinematic: It doesn’t affect the image, but it affects the edit. A sharp “clap” saves you hours of post-production time. Plus, writing your scene/take numbers keeps your files organized. Nothing screams “amateur” like an editor losing track of which file is the “good take.”